Top Page 1 Page 2 Page 3 Page 4 Page 5 Page 6 Page 7 Page 8
OK, so much for physically installing the unit, but what about the wiring?
I'm glad you asked. Here's what I did.
Now, I'm no electrician, nor electrical engineer. But I did stay at a Holiday Inn Express last night. I have a basic grasp of electronic theory, and I understand electrical stuff well enough not to start too many fires.
However, I think almost anyone who can use the tools can do this job. It's not difficult at all.
the first thing I did was plug in my soldering iron. It needs to be hot, and I figured it would come nicely up to temperature during the four or five minutes it would take me to tear into the wiring harness and figure out the leads. So I placed it in its special floating holder and went on.

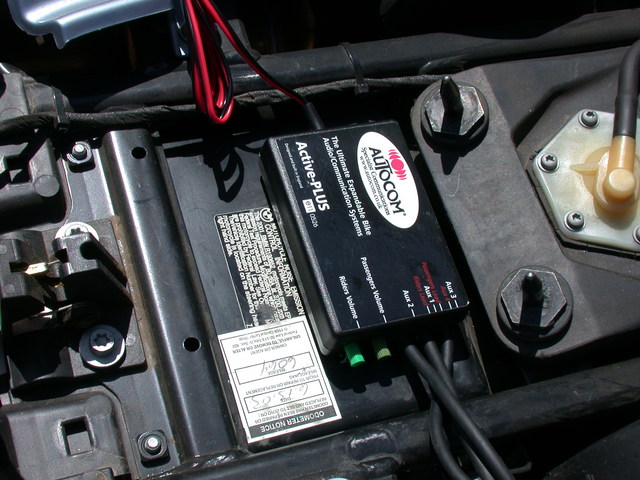
OK, I was doing great! Now I needed to get into the wiring harness. The Autocom install guide recommends finding the lead to the tail light (Not parking, not brake, you want a power source that is fused (and of course the tail light is), switched with ignition (and of course, the tail light is), and readily accessible... And of course, the tail light IS.
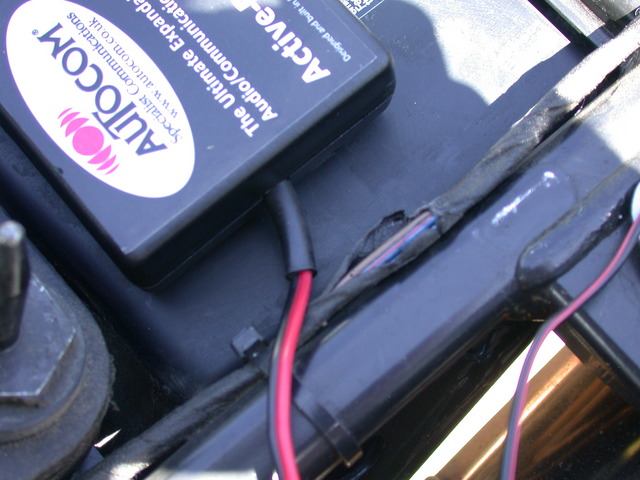
Note in this image that there is a wrapped bundle of wires running forward and backward on the motorcycle, running along the subframe rail, and with the red and black Autocom power wires crossing over it:
Wow, I thought to myself, this is easy. Let me just cut into that thing and find the tail light lead. So I ran inside, found a hobby knife, and had at it.
Time for a conference call. I said to Myself: "Self, there are like six wires in that thing. Which one do you want?"
And I answered "Damned if I know, I thought you were running things here."
Then Me stepped in, and suggested visiting The Chain Gang's Technical FAQs, looking for a wiring diagram. Maybe my search-fu isn't up to snuff, or maybe the only one I found really did have surrealist colors and no key to the real ones, but after a while I gave up. About that time I got to wondering how my soldering iron was doing...